Our first task is to create a form. Refer to 3.1 for the instruction to create an Access application.
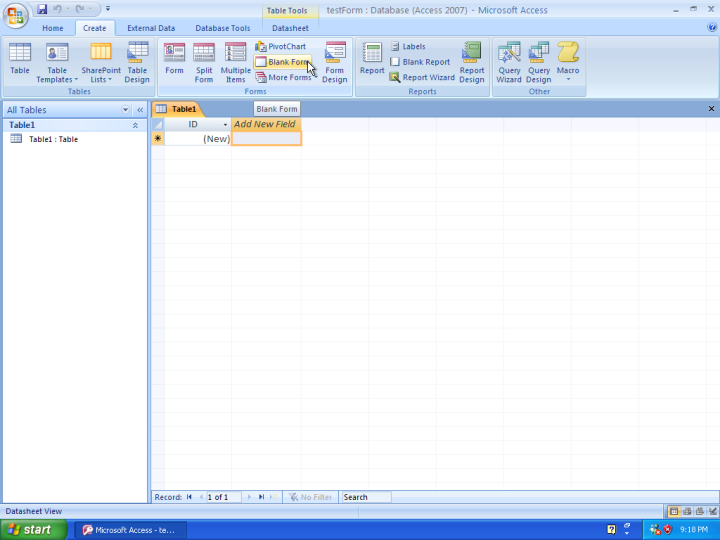
Once a new Access application is created, we are now ready to create a form. On the ribbon, click “Create”, then click “blank form” as follows:
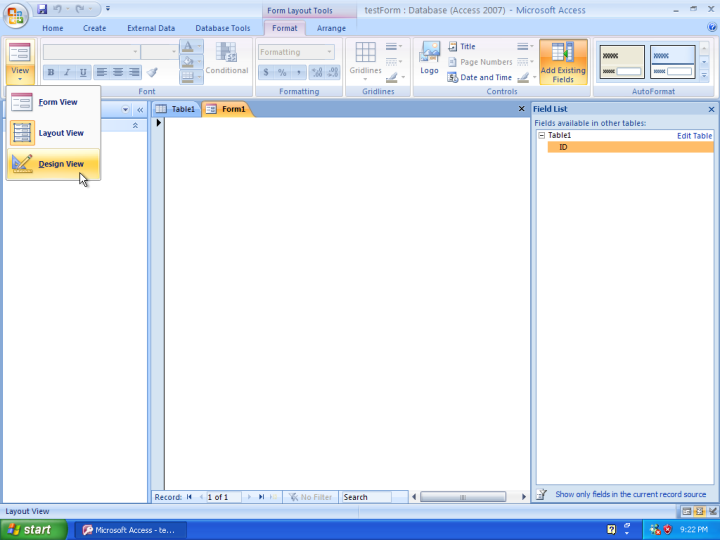
Next, you will see the “Form Layout” screen. In this view, click the drop down of “Views”, and select “Design View” as follows:
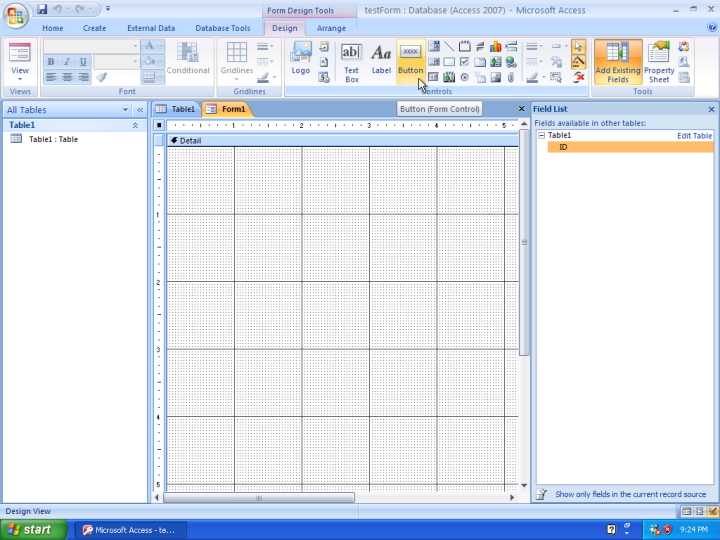
In the design view, you can add any control to the form, such as drop down boxes, buttons, text boxes and etc. For this exercise, we will use a single button. In the “Controls” palette, click “Button” to select the button control.
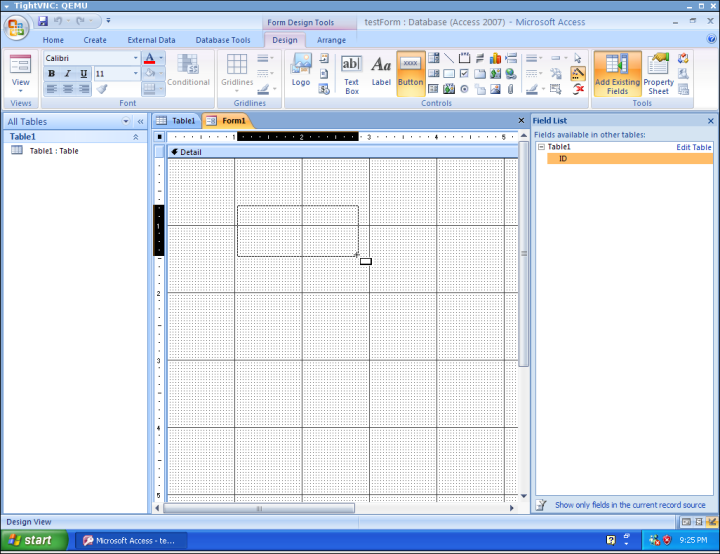
Then go to the main form area and use click-and-drag to draw a button, as follows:
As soon as you release the drag, a “Command Button Wizard” dialog box pops up. Click “Cancel” because we are not associating the button with any built-in capabilities.
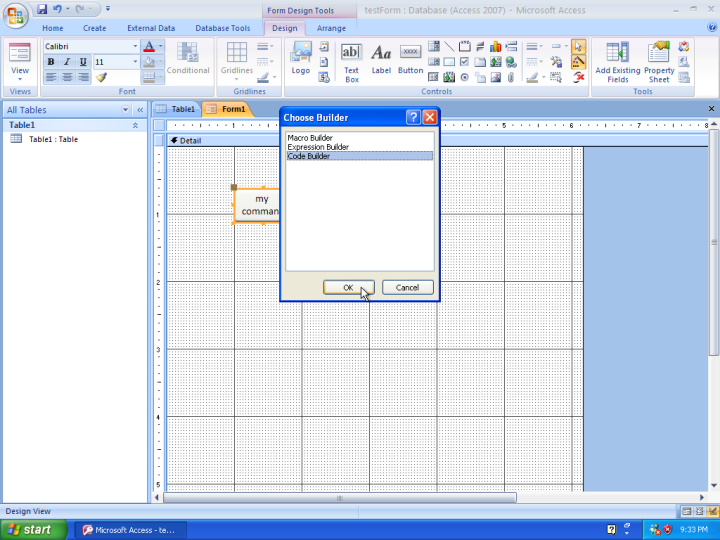
You can rename the button after you click on the button. Let’s rename the button to “my command”. Right click the button, then select “Build Event...”. In the “Choose Builder” dialog box, choose “Code Builder” and click “OK”.
This switches the screen to the VB IDE. You should also notice that some VB code is already typed as follows:
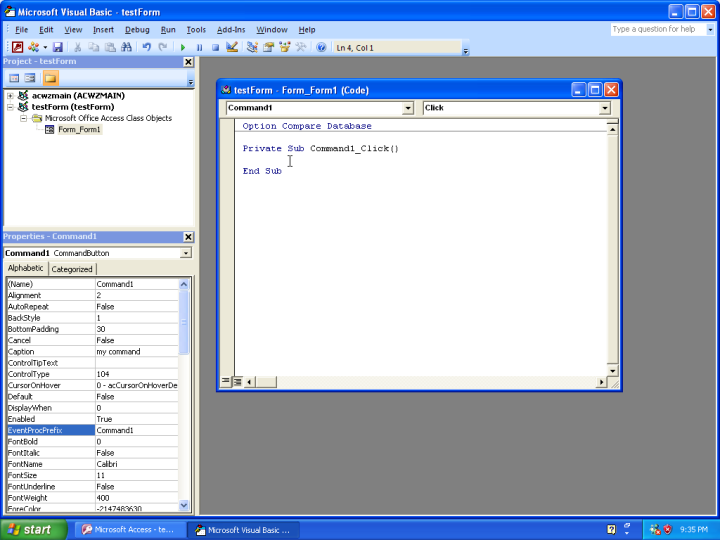
At the cursor, type the following code:
Again, the VB IDE will guide you along the way as you type. After you finish typing, click the floppy disk icon on the tool bar to save the code. Using the default name is fine in this exercise.
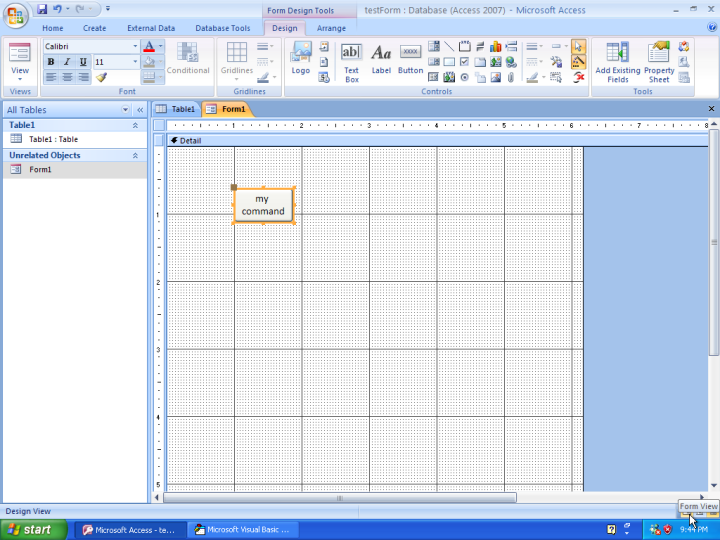
Next, switch back to Access 2007 (use the Windows task bar). We should still be in the form “Design View”. To test our code, we need to switch to “Form View”. Use the “Views” drop down like before, or use the icon to the right of the status bar (bottom right of the screen) as follows:
This will switch back to the “Form View”, where the form becomes interactive. Click the button labeled “my command”, and a dialog box should pop up with a title of “my message” and the content should read “clicked!”.
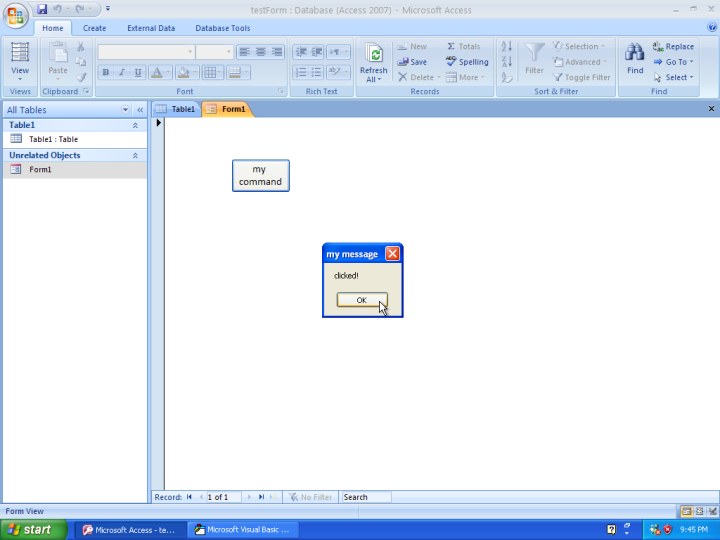
Click “OK” to close the dialog box. Mission accomplished!