Alright, this section is probably the most difficult one. This section assumes you installed OpenVPN using all the default settings. I am also assuming the following real NIC settings from a previous section:
I am also assuming that your router (also known as a residential gateway or firewall) is configured so that the DHCP IP assignment ranges only up to 192.168.0.64. You can usually check or edit the setting by logging in to the router.
Using the command line interface of Windows (“Start”, “Run...” and cmd), execute the following commands:
After all these steps, you’ll find a few files in the subfolder keys under the current folder. Use the command dir keys to list the files.
Using Windows Explorer, navigate to C:\Program Files\OpenVPN\config. Then, use a text editor (such as Notepad) to create a file named server.ovpn with the following content. Text to the right of the semi-colon (;) of a line is comments and needs not be entered.
You need to disable Windows Firewall on some of the interfaces for this to work. In the Control Panel (classic view), double click “Windows Firewall”. If you don’t see this option, it means Windows Firewall is not installed. However, you may still have to configure other third party software firewalls that you have installed.
In “Windows Firewall”, select the “Advanced” tab. Unselect the checkbox next to “tap-bridge”, then click “OK”.
In Windows Explorer, navigate to C:\Program Files\OpenVPN\config. Then right-click server, and select “Start OpenVPN on this config file’.
A command line interface should start up. If all works, you should see the last line indicating “Initialization Sequence Completed”.
Note that all other steps only need to be performed once, but this step is necessary every time you restart the computer.
At this point, the TUN/TAP interface is not connected to any real network. To make the connection to a real network, we need to create bridge the TUN/TAP interface (tap-bridge) to an actual NIC.
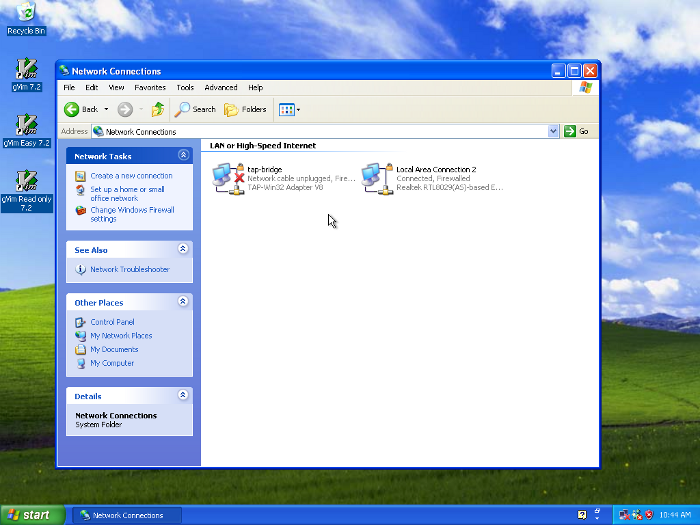
In the Control Panel (classic view), double-click “Network Connections”. This should display all the available connections:
Select both tap-bridge and the actual NIC. You have to control-click to select two interfaces. Then, right click one of the interfaces and select “Bridge Connections”.
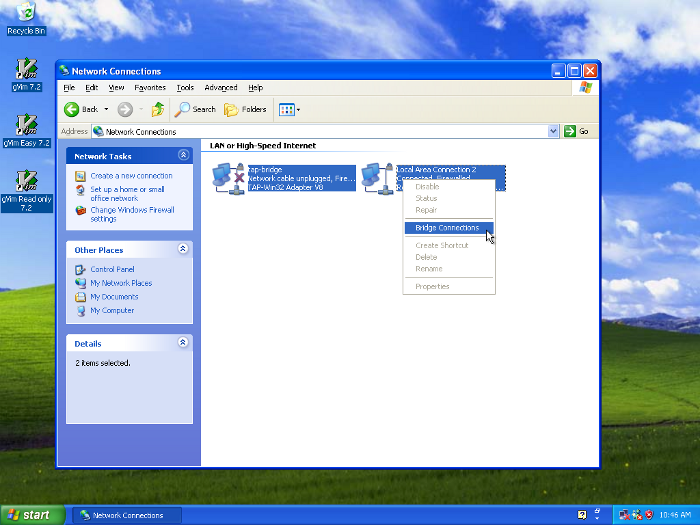
It will take a while to create the bridge, and you may see some warnings.
After the bridge is created, you need to manually edit some of its settings. Right click the bridge connection, click “Properties...”, then double the TCP/IP item.
Change the IP address to the address that you choose for the network bridge. In our example, 192.168.0.100 is the number. Set the Submet mask to 255.255.255.0. The Default Gateway should be set to 192.168.0.1, and the Preferred DNS server should be set to 192.168.0.2.
Obviously, these IP addresses are example, only. The actual IP addresses depend on your network.
If you don’t see any broken network connections on your task bar, it means the set up should be working. You can use your web browser to confirm this by going to an external web site.
You can also open a command line interface (cmd) and use the following commands:
If you restart the system, some steps need to be repeated unless you automate the process.
First, you need to start OpenVPN manually. However, this does not automatically connect the VPN interface tap-bridge. Windows will report the interface remains “unplugged”. This is because it is a part of the network bridge, and it was unplugged when the network bridge was created (during start up).
To fix this, you can disable the network bridge interface, and re-enable it. As you re-enable the network bridge, Windows checks and reinitialize the bridged interfaces, which include tap-bridge.
You can automate the restarting of OpenVPN. Create a file called startOpenVPN.bat in C:\Documents and Settings\yourname\Start Menu\Programs\Startup. Change yourname to your actual user name. The file should have the following lines:
This way, this script only runs when you log in.