If you complete everything up to now, you are running a virtual machine that has a virtual hard disk drive and a Linux installation CD/DVD. We are now ready to install a relatively “stock” Linux system in the virtual machine.
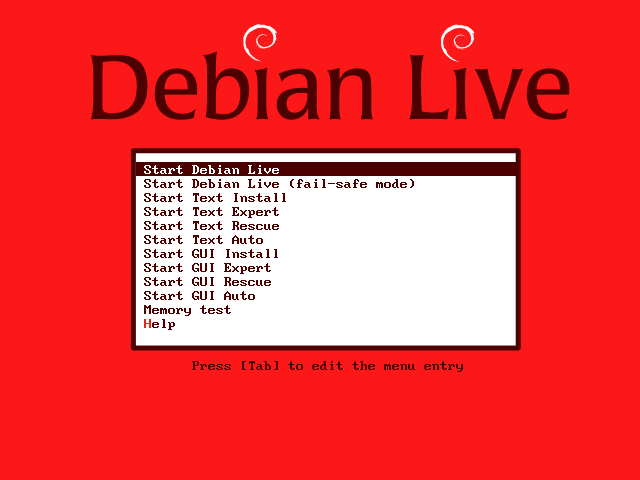
This is the boot screen of a Live CD that I will distribute. Move the cursor to “Start Text Install”, then press ENTER.
Next, you will see some amount of kernel start messages. At some point, you will reach a screen to choose the language. The default is “English”, press ENTER to continue.
The following screen chooses the country or region, the default is set to “United States”. Press ENTER to continue.
The default of the “Keyboard layout” dialog is “American English”, again, accept the default by pressing the ENTER key.
The system will, then, find the CD-ROM drive, load additional components, and connect to the network. You will be prompted to enter a hostname. Because you will be setting multiple virtual machines, it is best to select a different name for each virtual machine.
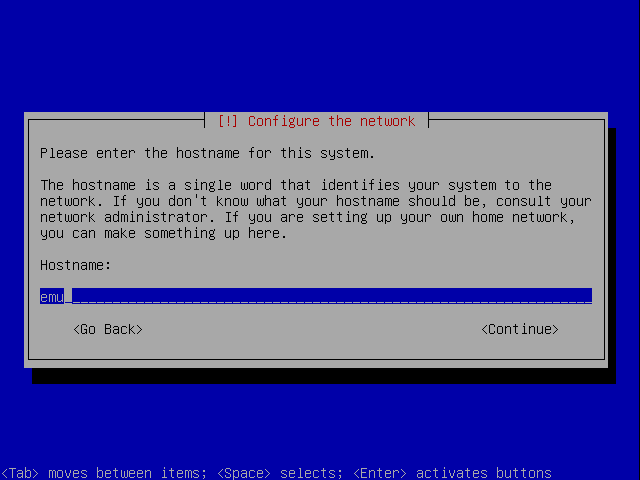
The most straightforward method is to use a series suffix. For example emu-01, emu-02 and etc. After you enter the hostname, use the tab key to highlight “Continue”, and press ENTER.
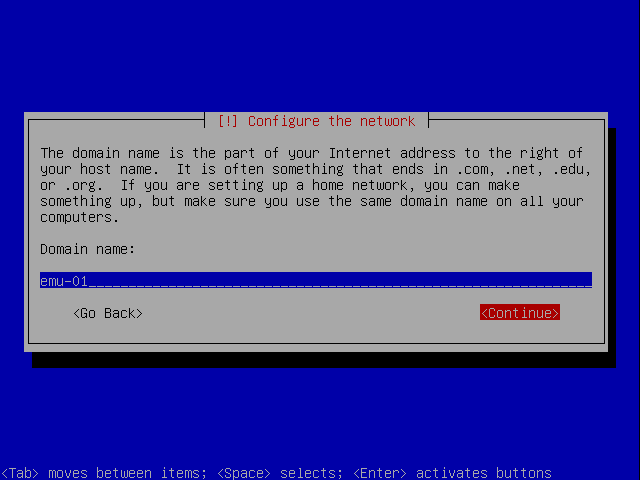
For ease, you can also use the same name in the next screen as the domain name.
After entering the domain name, you select the time zone. “Pacific” is the correct option for Sacramento. Press ENTER after selecting the time zone.
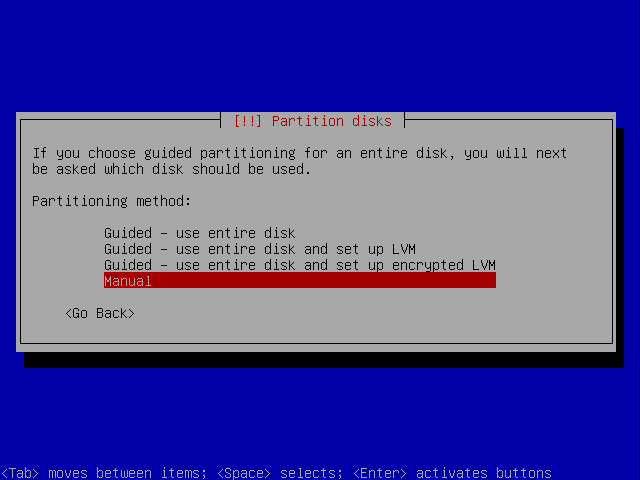
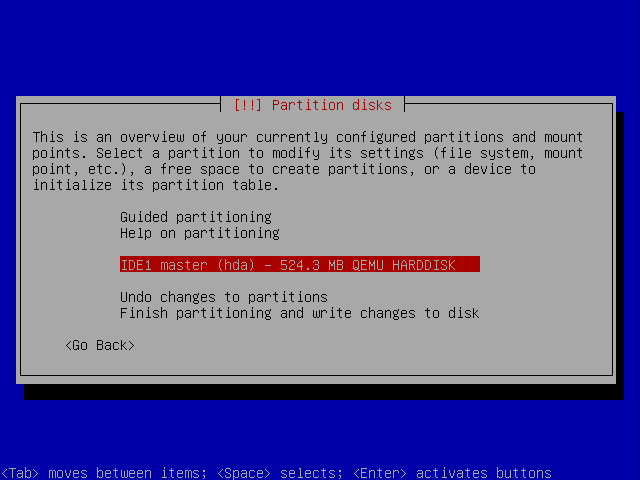
After a few more screenfuls of operations, you will arrive at the partition wizard dialog box. Because the “disk” is actually a single file to the host operating system, we cannot use the simple method. Follow these steps, instead. Select the last option, “Manual”.
In the following step, select the hard disk as in the following screen.
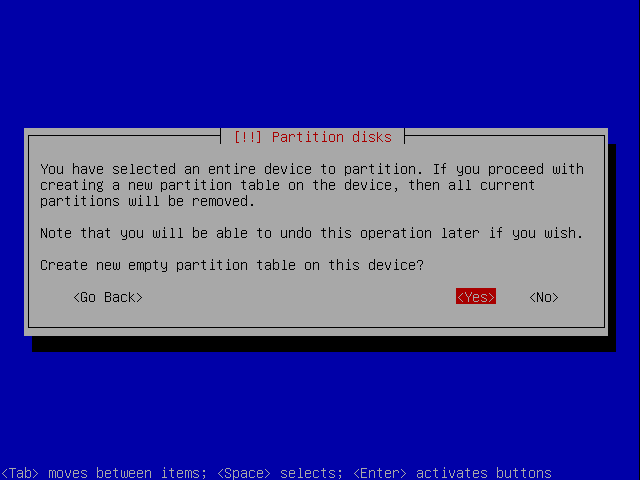
You need to create a new empty partition table because the “disk” is entirely blank. Answer “Yes” in the following dialog screen:
After this step, you will be brought back to the previous screen. This time, select the partition like the following screen shot.
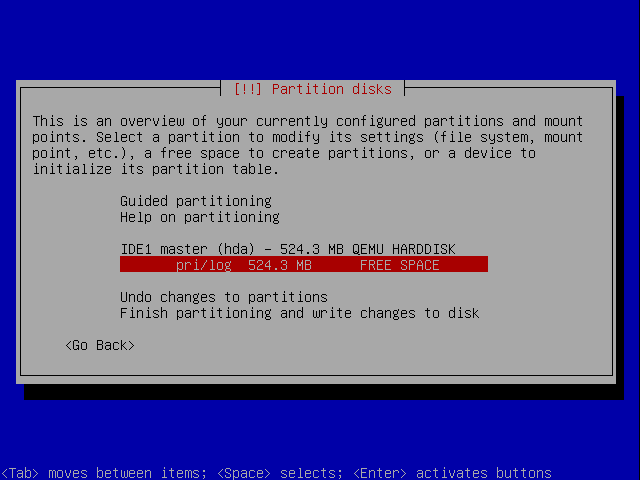
This selects the free space of the hard disk, which should be the entire disk. In the next screen, we select what to do with this free space. Select “Create a new partition”.
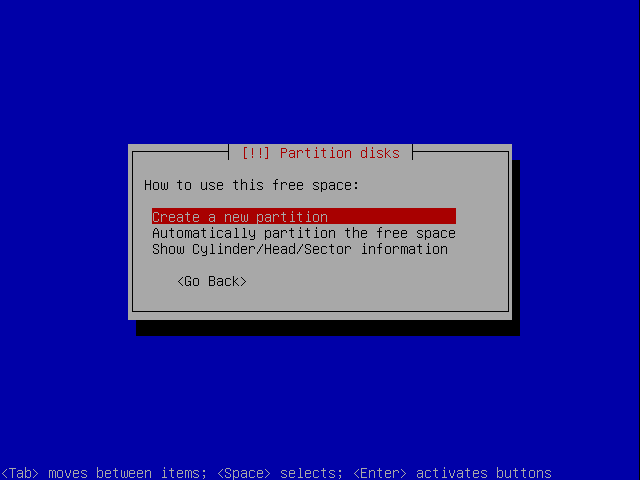
The partition helper will ask you how much space to use. Use the default amount, which is the entire disk. Use the tab key to navigate to “Continue”, then press ENTER.
Next, select “Primary” for the partition type, press ENTER. The partition wizard then does it work, and we arrive at the following screen.
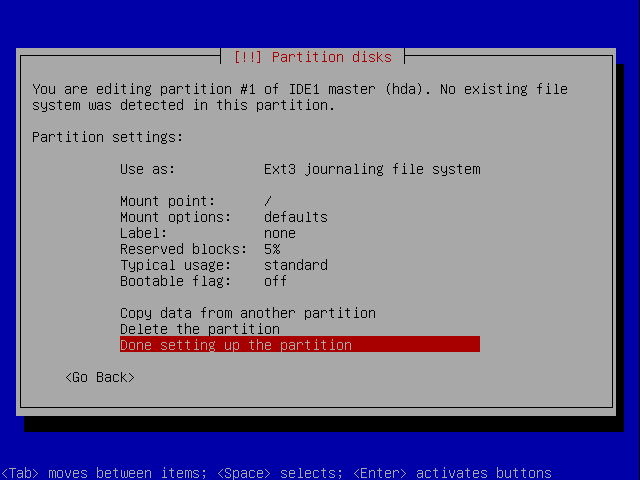
Use the cursor key to navigate to the last option “Done setting up the partition” and press ENTER. After the work is done, we will return to the top level partition wizard screen as follows.
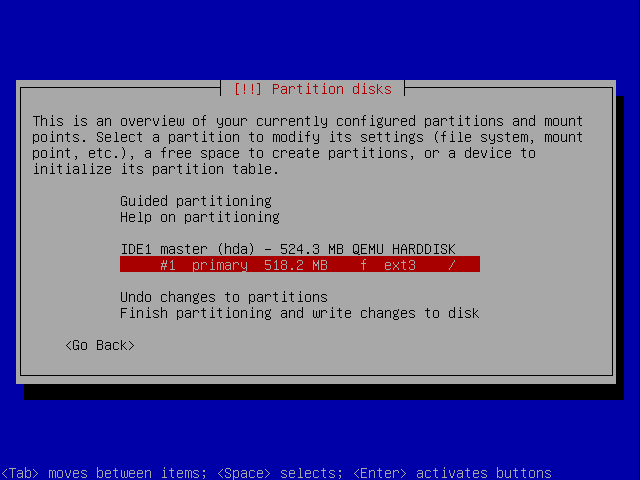
Now navigate to “Finish partitioning and write changes to disk” and press ENTER. You will be prompted to set up a partition for swap space. There is no need to set up any swap space. Answer “No” and press ENTER.
Then, select “Yes” when asked whether to write the changes to disks. After this confirmation, the installer starts to install the base system. Depending on the speed of your computer, it may take a while.
After the base system is set up, you will be asked to specify the root password. Remember this password! Fortunately, the installer will ask you to enter the password again, just to make sure you know what you just typed.
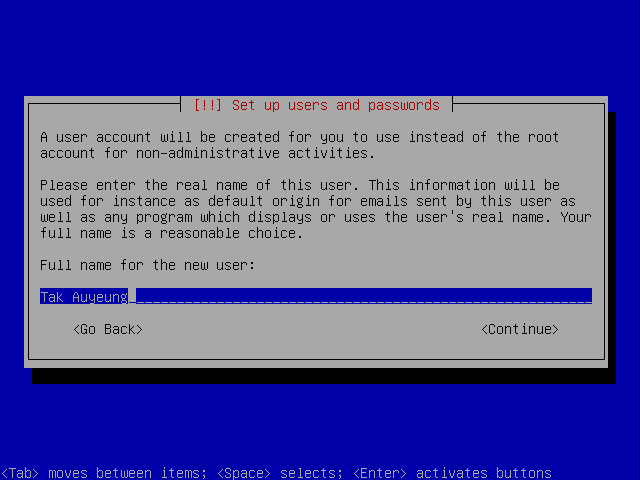
The next step asks you to enter a full name for a normal user. You can use your own name, given name first.
Then you can specify your username. The username cannot use any name. It is best to keep it shorter and only use lower case letters. Then tab over to “Continue” and press ENTER. Then, you need to specify the password for this user account, twice.
After that, the system will install the rest of the components. The installer will ask you which software to install, you will only have one option “Standard system”. Press ENTER to continue. This will continue to install the boot loader. Choose “Yes” to install the boot loader.
As the last step, you will be asked to reboot. Press ENTER to proceed.
This starts the reboot process.
You need to stop the process (by clicking the X button to close the emulator).
Now, you need to change the command to start the emulator so it does not boot with the CD-ROM drive.
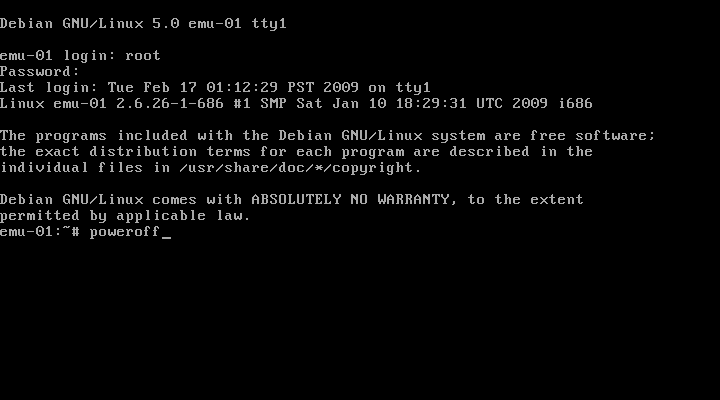
This restarts the emulator to boot from the “hard disk”. After all the bootstrap messages, you should see the following screen (or something similar):
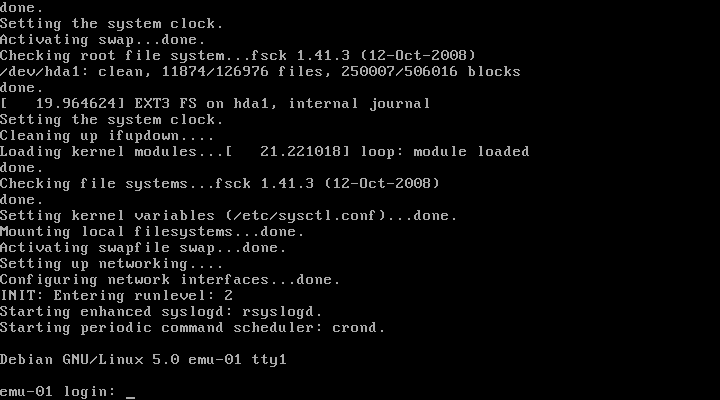
You should first try to log in using the user account. You can log out using the command logout. Then, you should try to log in using the administrator account root. After successfully log in as root, you can shutdown the machine using the command poweroff. This stops the virtual machine by properly shutting down the hard disk and file systems.
The emulator should exit at the end of the power off process.